Need help? Write to us info@hqlifting.com
- Charging Accessories
- Lifting accessories
- Steel Cable
- Beam cart
- Turnstile for load securing
- Load Ratchet Strap
- Lifting current
- Chain for Load Lifting
- Lifting equipment
- Slings
- Steel Cable Tensioner
- Polyester slingshot
- Load binders
- STEEL HOOK
- Steel Cable Clamp
- Electric winch
- Permanent magnets
- Steel Cable Clamp
- moitão
- Carabiners
- Screw With Eyelet
- Lifting Clamp
- Talha Manual
- Uncategorized
Call our consultants or chat online
+86 151 4514 5178
how to fix electric hoist
Have you ever had the problem of the electric hoist stopping working? This article will help you learn how to fix it. You will learn practical tips for maintenance and how to make repairs at home.
The hoist maintenance guide ranges from basic diagnostics to safe steps. This will help you save time and money. You will learn how to avoid high costs with technical services and know when you can do the repair yourself.
This article pays great attention to safety and effectiveness. Each step is explained simply, for beginners and professionals. You will learn how to avoid serious problems and make the hoist last longer.
Main Points
- Learn to identify problems and perform basic repairs on electric hoists.
- Get to know the necessary tools for home repairs.
- Discover how preventive maintenance avoids replacement costs.
- Understand when to consult a specialized technician.
- Access tips to extend the lifespan of your equipment.
Understanding How the Electric Hoist Works
To fix an electric hoist, it is essential to know how it works. Each part of the equipment has a specific function. Knowing what they are electric hoist components helps to find problems more easily.
Main components of an electric hoist
- Electric motor: generates mechanical energy.
- Transmission system: involves gears and chains to move the load.
- Brake system: to stop the load safely.
- Pending control: allows manual operation.
- Electrical system: takes care of the circuits and switches that control the power.
How to identify the model of your hoist
The hoist nameplate contains important information. See the details:
| Feature | Example |
|---|---|
| Type of energy | Single-phase or three-phase |
| Capacity | 500 kg or 1000 kg |
| Model code | X100, Y200, etc. |
Basic operating principles
The operation of the electric hoist involves several steps:
- The motor converts electrical energy into rotary motion.
- Gears transform this rotation into vertical movement.
- The pending control adjusts the speed and direction.
- Sensors ensure the safety and balance of the load.
With this information, you can start analyzing the equipment more thoroughly.
Tools Needed for the Repair
To fix your electric hoist, it is crucial to have the right tools. The tools to repair electric hoist must have screwdrivers, pliers, and electrical meters. Have a kit de ferramentas talha completo ajuda muito. Mas você pode começar com as ferramentas básicas.
- Chaves de fenda: modelos planos e filos para parafusos variados.
- Chaves Allen (M3 a M6) para fixações internas.
- Alicates: comuns, de corte e de bico fino para peças pequenas.
- Multímetro: indispensable for testing electrical circuits.
- Bearing extractors to replace damaged components.
For a more advanced repair, use a equipment repair hoist com termômetros e spray lubrificante. Pinças isolantes ajudam a evitar choques, principalmente em modelos mais antigos. Para economizar, compre um kit de ferramentas talha que seja compatível com marcas como Bosch ou Stanley.
Graxa de silicone e fita isolante são essenciais para terminar o trabalho. Ferramentas elétricas, como serra de precisão, são necessárias apenas para trocar partes grandes. Verifique sempre a compatibilidade com seu modelo antes de comprar.
Precauções de Segurança Antes de Iniciar o Reparo
Antes de começar a reparar uma talha elétrica, a segurança reparo talha elétrica é essencial. É importante seguir passos preventivos para evitar choques elétricos ou acidentes. Veja os principais passos a seguir:
Desligamento e isolamento da energia
Para garantir isolamento energia talha, siga essas etapas:
- Desligue a fonte principal e remova os fusíveis, se possível.
- Use um multímetro para confirmar ausência de tensão antes de abrir o equipamento.
- Bloqueie o painel elétrico com um aviso “Não energizar” e sinalize a área.
Equipamentos de proteção individual recomendados
O uso correto de EPI para manutenção talha é vital:
- Luvas isolantes: resistentes a tensão elétrica.
- Óculos de proteção: evitam projeções de peças ou líquidos.
- Calçados antiderrapantes: para evitar escorregões em áreas úmidas.
- Cinto de segurança em trabalhos elevados.
Preparação do local de trabalho
O ambiente deve estar:
- Bem iluminado e livre de obstáculos.
- With a stable surface to prevent tipping.
- Isolated with tapes or barriers to prevent unauthorized access.
Following these guidelines ensures a safe environment and reduces risks during the repair.
How to Fix an Electric Hoist: Step-by-Step Procedure
To fix the electric hoist, it is essential to be organized and attentive. Follow the step-by-step procedure below. This way, you will ensure safe and effective results:
- Initial problem assessment:
- Check for strange noises, excessive vibrations, or engine failures.
- Test the electrical connection and the power button.
- Use um multímetro para medir tensão e corrente em pontos críticos.
- Desmontagem segura do equipamento:
- Desligue a energia e remova as tampas laterais com parafusos.
- Faça fotos de cada etapa para guiar a remontagem.
- Armazene parafusos e peças em caixas numeradas.
- Identificação de peças danificadas:
- Inspeção visual: fios desgastados, rolamentos trincados ou escovas desgastadas.
- Electrical test: use multimeters to check resistors and capacitors.
- Categorize parts as "clean," "adjust," or "replace" based on the identified defects.
Keeping a notebook is useful. Record important observations. If you find damaged components that you do not know how to repair, consult the technical manuals of the electric hoist brand.
Solving Common Electrical Problems
It is crucial to know how to diagnose and fix electric hoist problems to prevent damage. Use a multimeter to test the electric circuit hoist. This includes checking continuity in cables, voltage in contactors, and resistance in parts.
- Damaged power cables: check for cracks or corrosion.
- Oxidized contacts in contactors: clean with a steel wool cloth.
- Bobinas de relé queimadas: substitua se não responderem a tensão.
Veja o guia abaixo para identificar causas e soluções:
| Problema | Sintoma | Causa | Solução |
|---|---|---|---|
| Falha no cabo de alimentação | Equipamento não liga | Isolamento rompido ou terminais soltos | Substitua o cabo ou solda conexões. |
| Contator travado | Som de estalos | Contatos fundidos ou sujos | Limpe com álcool isopropílico ou substitua o componente. |
| Curto-circuito | Fusível queima constantemente | Isolamento danificado no electric circuit hoist | Localize o ponto de contato e reforce o isolamento com fita térmica. |
For falhas elétricas mais complexas, veja o esquema elétrico do seu modelo. Compare com circuitos domésticos simples. Um interruptor de luz controla a luz, assim como o electric circuit hoist segue princípios semelhantes. Mantenha o multímetro sempre pronto para testes rápidos.
Como Arrumar Motor de Talha Elétrica
Para resolver problemas no motor da talha elétrica, é essencial atenção. A manutenção envolve etapas técnicas, mas é possível com cuidado. Veja um guia passo a passo para eficiência e segurança.
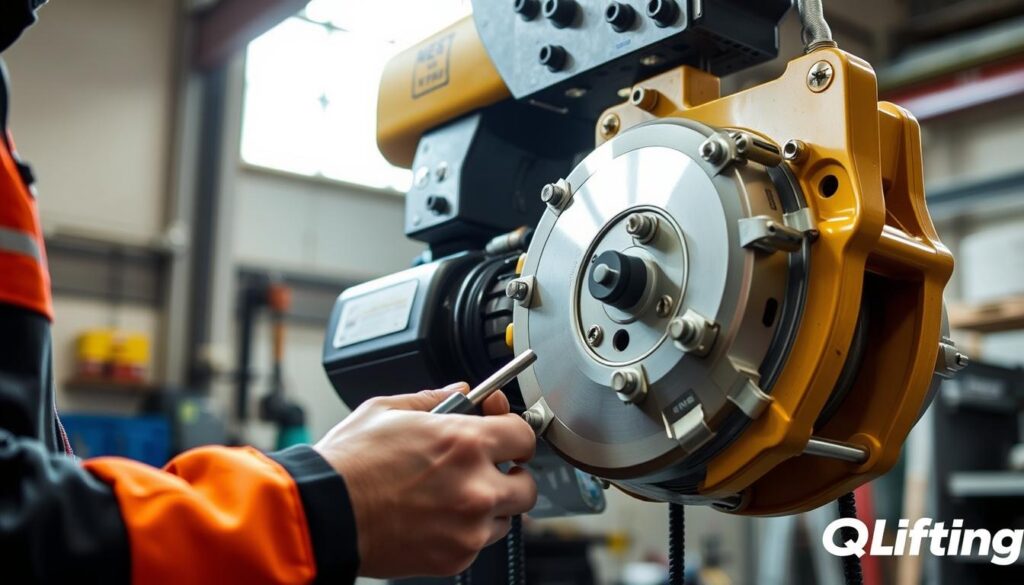
Diagnóstico de falhas no motor
Procure sinais de problemas:
- Superaquecimento: motor quente ao toque;
- Ruídos como batidas ou chiados;
- Vibrações intensas durante a operação.
Use um multímetro para testar isolamento elétrico e resistência das bobinas. Se os valores forem anormais, é hora de reparar.
Limpeza e manutenção do motor
Para limpeza:
- Desarme o motor seguindo o manual do fabricante;
- Use pano macio e limpador apropriado para eletrônicos;
- Avoid abrasive products that damage insulators.
Replacement of bearings and brushes
To replace electric hoist bearings:
| Component | Code | Specification |
|---|---|---|
| Bearing bearing | 6205ZZ | Radial load 2800 N |
| Carbon brush | CB-500 | Length 35 mm, resistance 1.5 ohms |
Use special pliers to remove old parts. Adjust the new ones precisely. Adjust the brushes for perfect contact with the commutator.
How to Fix the Electric Hoist Button
No problems electric hoist button you can stop using the equipment. Before replacing, see if it is possible to do the repair hoist control. Here is a guide to solve common problems:
Identifying problems in the control system
First, observe signs such as:
- Buttons stuck or unresponsive
- Commands that work only in one direction
- Controles que “ficam presos” após soltar o botão
Repair of contacts and switches
For repair hoist control:
- Carefully disassemble the panel using a Phillips screwdriver.
- Clean oxidized contacts with isopropyl alcohol.
- Adjust misaligned springs with fine pliers.
- Continuity test with multimeter (resistance less than 1 ohm).
Replacement of the pending control
| Repair | Substituição |
|---|---|
| Indicado para falhas leves (contatos sujos) | Necessário para danos estruturais ou componentes queimados |
| Custo: R$ 20-50 (materiais simples) | Custo: R$ 80-150 (controle novo) |
| Tempo: 30 minutos | Tempo: 1h (instalação) |
Após reparos, proteja o botão talha elétrica com capa plástica. Evite exposição a umidade. Mantenha o manual do fabricante para modelos específicos!
Manutenção do Sistema de Freios e Engrenagens
Manter os freios talha elétrica e engrenagens talha em bom estado é crucial. Isso garante segurança e eficiência. O sistema freio de segurança ajuda a evitar acidentes. As engrenagens asseguram movimentos precisos. Veja as etapas para cuidar delas:
- Verificação dos freios:
– Ouça se há ruídos ao parar ou se a carga desliza.
– Troque as pastilhas velhas e limpe com pano. - Inspecionar engrenagens:
– Busque dentes quebrados ou folgas grandes.
– Aplicar óleo conforme a recomendação da fabricante.
| Problema Freios | Ação |
|---|---|
| Freio lento para liberar | Limpe contatos e ajuste molas |
| Problema Engrenagens | Ação |
| Metallic noises | Replace damaged gears |
Before reassembling, align the parts. Large gaps in the gears reduce performance. Test the sistema freio de segurança frequently to avoid serious problems. Keeping everything in order prevents damage and ensures safety.
Proper Lubrication to Prolong Service Life
Lubricating the electric hoist is essential to keep the machine running well. Choosing the right products and applying them correctly prevents damage. This way, your machine will last longer.
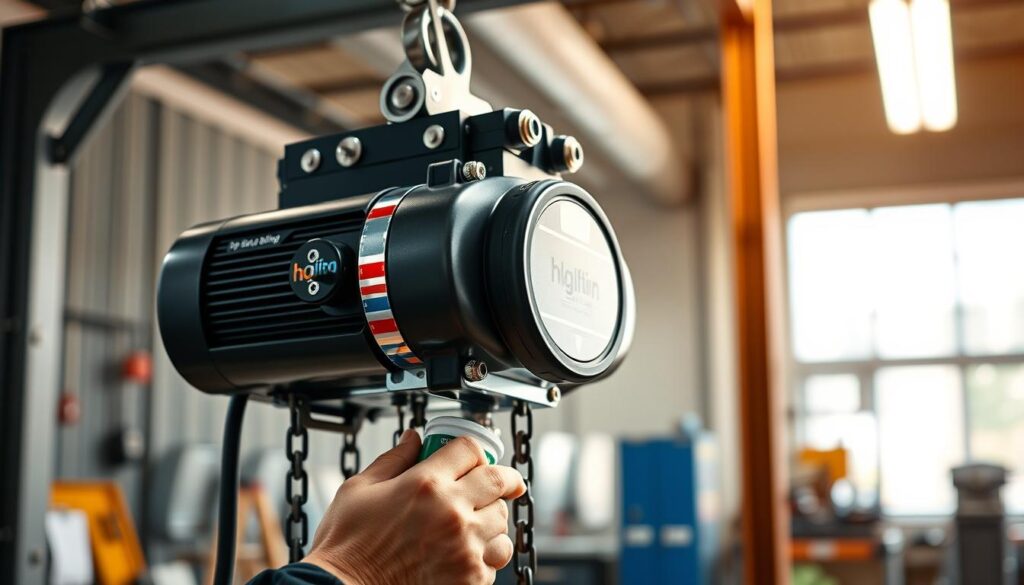
Recommended types of lubricants
Use grease for hoist, as a Shell Omala ou Mobil Glygole. They protect against heat and corrosion. Avoid common greases, as they can cause friction.
Mineral oils are good for wet areas. Synthetic greases are better in machines under high load.
Pontos críticos de lubrificação
- Rolamentos do motor: aplique grease for hoist com pistola lubrificadora, sem excesso.
- Engrenagens da caixa de redução: use óleo lubrificante para evitar desgaste prematuro.
- Correntes e guias: limpe antes e aplique finas camadas de óleo à base de grafite.
- Sistemas de freio: evite graxa com alta viscosidade para não comprometer a resposta do freio.
Frequência ideal para manutenção preventiva talha
Maintaining the hoist according to a schedule is important. In dry locations, lubricate every 200 hours. In dusty or humid areas, do it more often, every 100 hours.
Record everything in a notebook. Note the date, product, and observations. If you hear strange noises or feel that the machine is not moving well, it's time to lubricate.
Test and Verification After Repair
Before using the electric hoist after repairs, it is essential to follow strict inspection steps. These steps ensure that the equipment operates correctly and maintains its efficiency.
Post-Repair Safety Checklist
Start with a complete visual inspection. Check:
- Firm electrical connections without oxidation
- Screws and mechanical fasteners adjusted
- Cables and hoses without physical damage
- Security systems such as limiters and sensors operating correctly
Gradual Load Testing Procedure
The electric hoist test must be done in stages:
- First cycle without load to check for silent movements and no excessive vibrations
- Load with 25% of maximum capacity and observe the operation of the engine and brake
- Increase to 50%, 75%, and 100% at 5-minute intervals, monitoring temperature and noise
- Document any anomaly for immediate adjustments
Ajustes e Calibração Talha
Após os testes, realize:
- Calibração talha de limitadores de curso para evitar sobreposições
- Ajuste fino do freio para garantir parada segura sob carga
- Verificação de alinhamento entre engrenagens e eixos
Registre todos os ajustes em um histórico de manutenção. Esse processo evita falhas futuras e prolonga a vida útil da máquina.
Quando Chamar um Técnico Especializado
Alguns problemas precisam de ajuda de um profissional. Veja quando chamar um técnico talha elétrica para evitar problemas:
- Trincas na estrutura ou deformações metálicas;
- Panames complexos em circuitos com inversores de frequência;
- Need for complete motor rewinding;
- Repairs that require specialized measuring equipment;
- Signs of electric shock or smoke during use.
- Certifications in specialized hoist maintenance;
- Experience with the specific model of your hoist;
- Previous customer reviews;
- Service and parts warranties.
Before the visit, organize:
- Record of abnormal sounds or odors;
- Detailed photos of the defects;
- Information about previously made modifications.
Never underestimate electrical risks. If the technical assistance hoists cost more than 50% of the new equipment, consider replacing it. Hoists over 10 years old are generally cheaper to replace.
Conclusion
This hoist repair guide It provides the basics to understand and perform preventive maintenance on electric hoists. Regular maintenance prevents serious problems and ensures safety. Following shutdown steps, using PPE, and conducting inspections reduce risks and increase the equipment's lifespan.
If you find complex faults, such as electrical damage or structural problems, call a professional. Preventive maintenance, such as lubricating and checking components, should follow the manufacturer's manual. This keeps the equipment running well and avoids high repair costs.
The knowledge acquired here can be used in other industrial equipment, such as winches or conveyors. Learning to identify and solve problems is an important skill. Always record interventions and update your knowledge with official manufacturer materials.
Seu comprometimento com segurança e eficiência já é um grande passo. Ao seguir este guia, você ajuda a tornar os ambientes de trabalho mais seguros e produtivos. Lembre-se: a manutenção preventiva não é só uma tarefa técnica. É uma prática que protege pessoas e investimentos.
Share:

June Han /founder and designer
The co-founder of Hqlifting, sales director, amateur writer about fitness business

